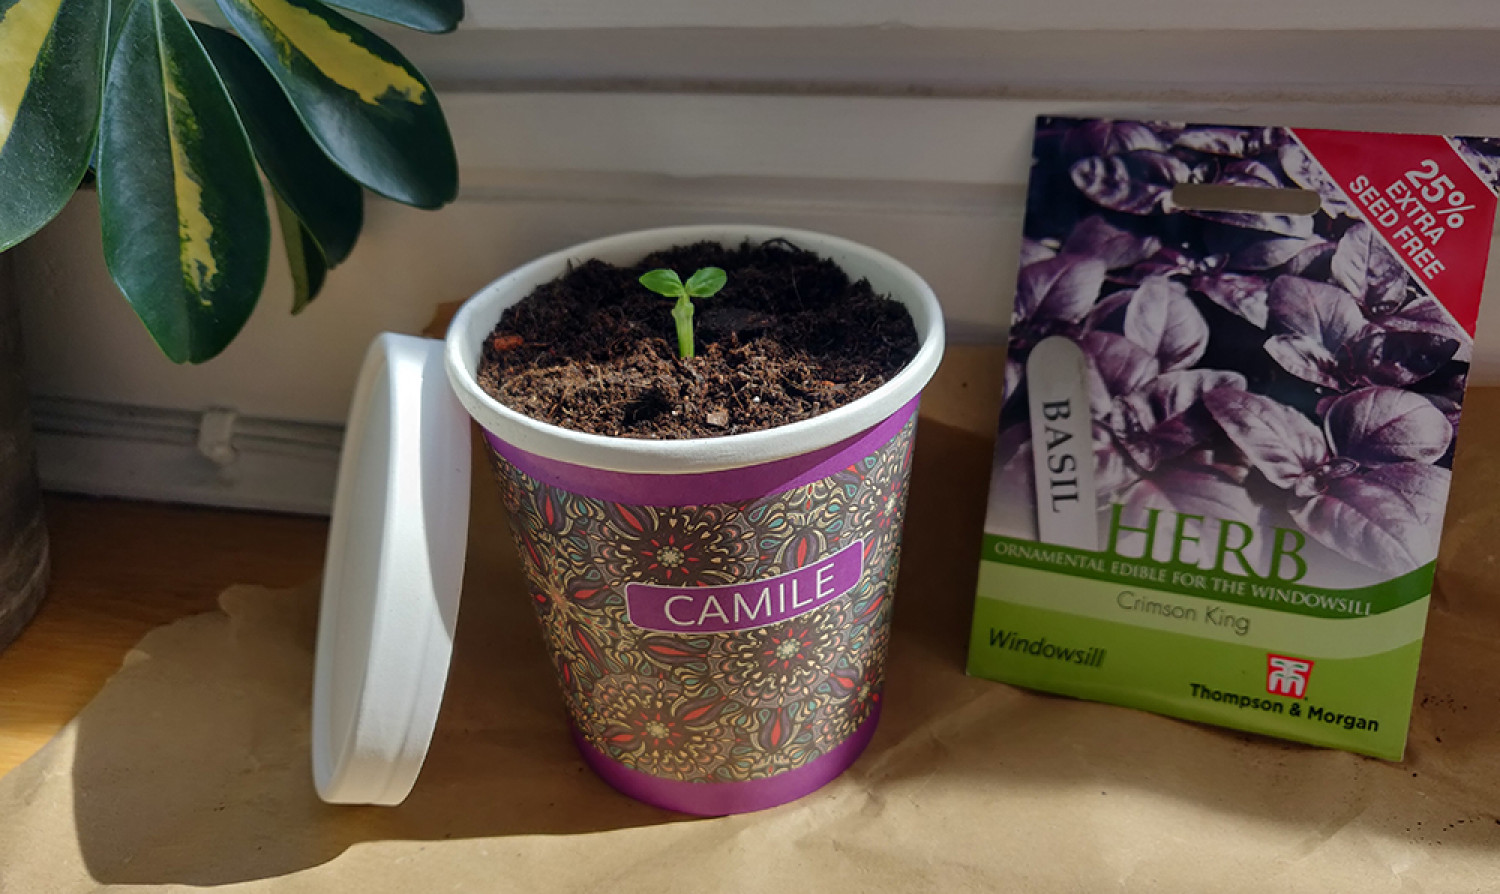
How to Grow Basil in a Camile Cup
14-05-2020
#CamileSeedProject
Many thanks to the “How To Culinary Herb Garden” for this information.
Basil is one of the easiest herbs to grow from seed. When grown under the right factors, you can successfully grow this herb & be ready to harvest your plants in as little as 3-4 weeks!
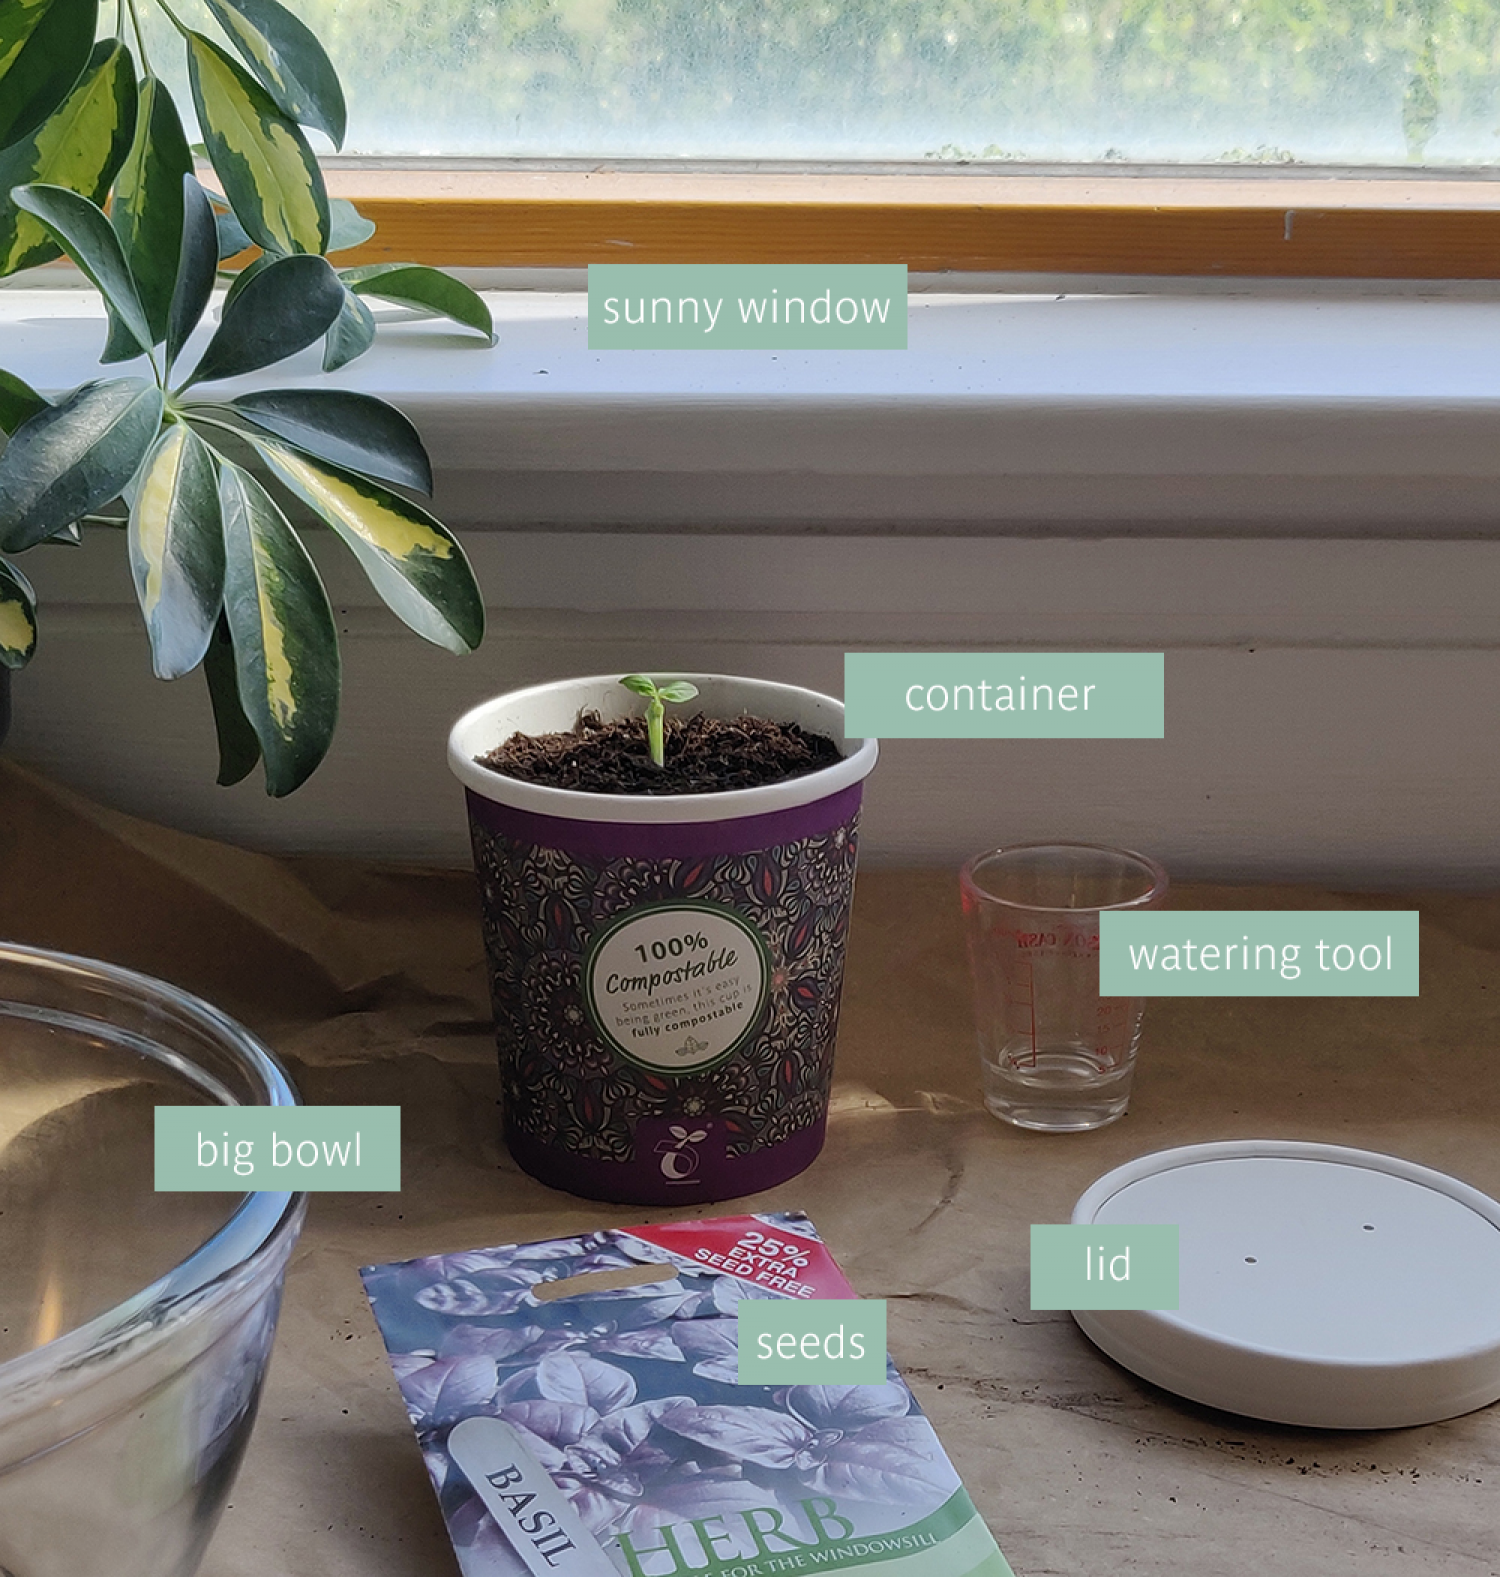
Here is everything you will need. If you received a free starter kit from Camile Thai, you’re nearly there!
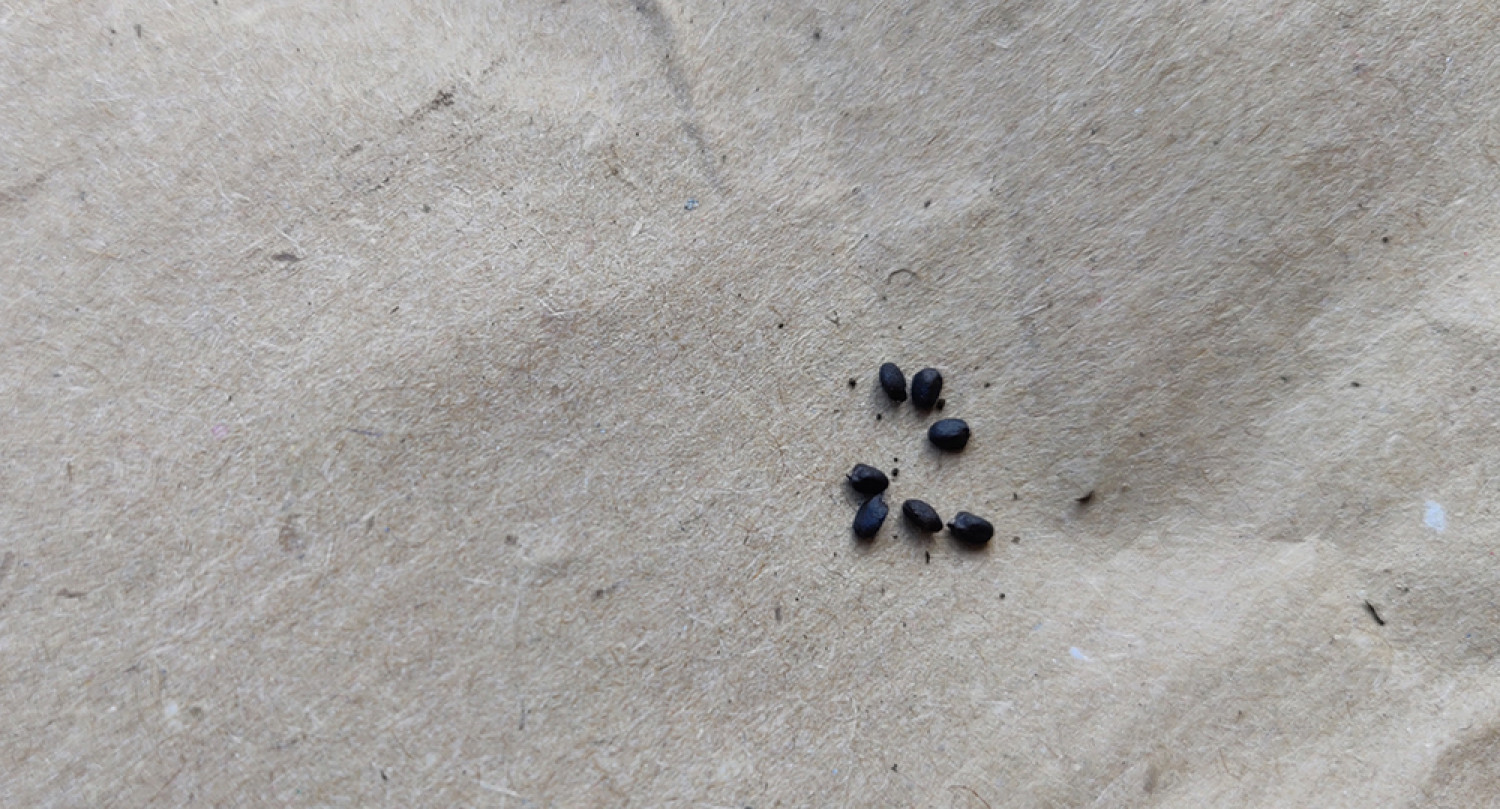
Basil Seeds. A typical packet holds way more than one Camile cup can hold. Find other soil & containers, or leave them in a friend’s mailbox!
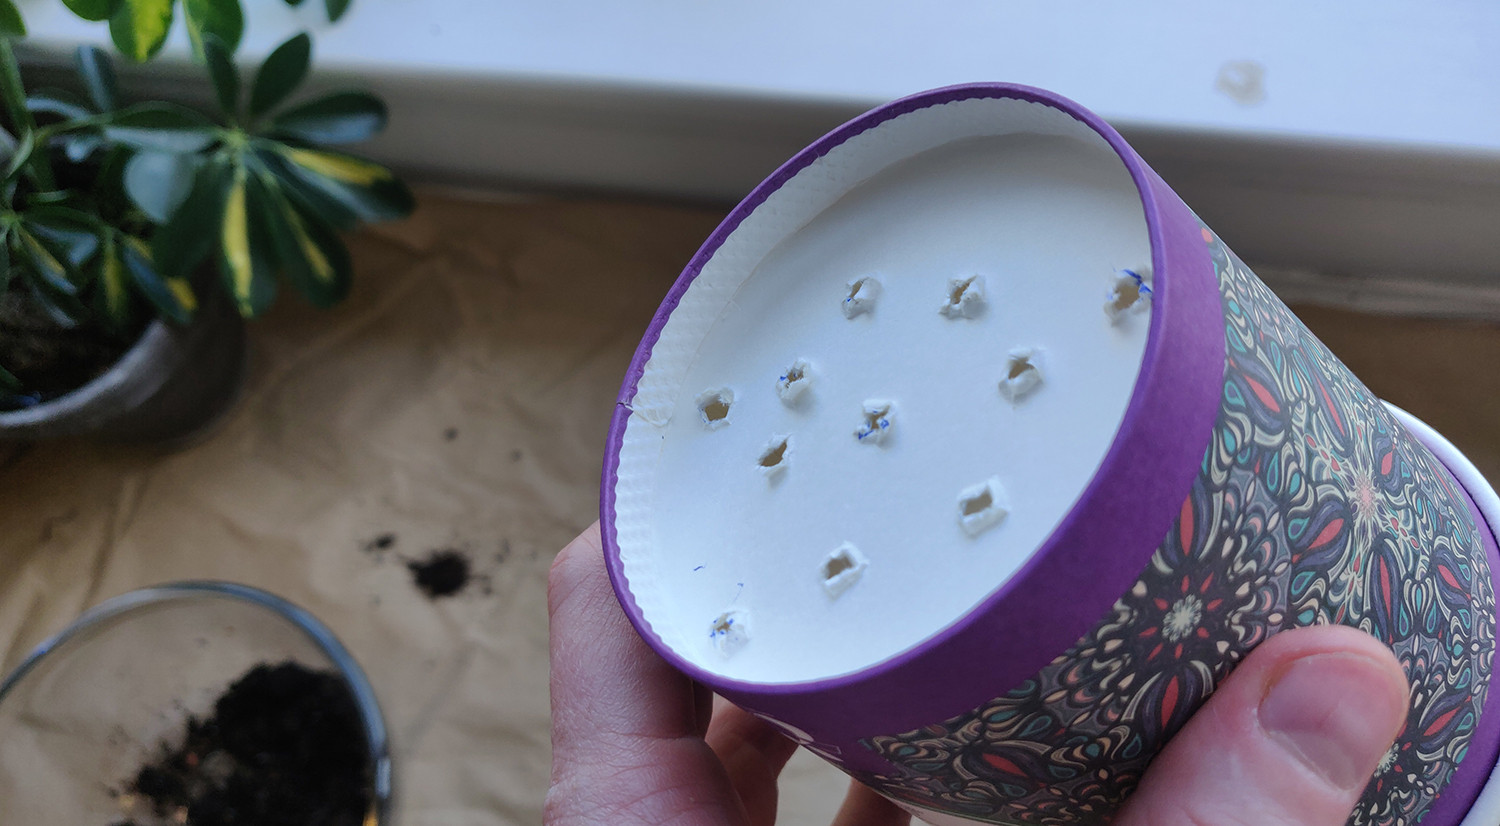
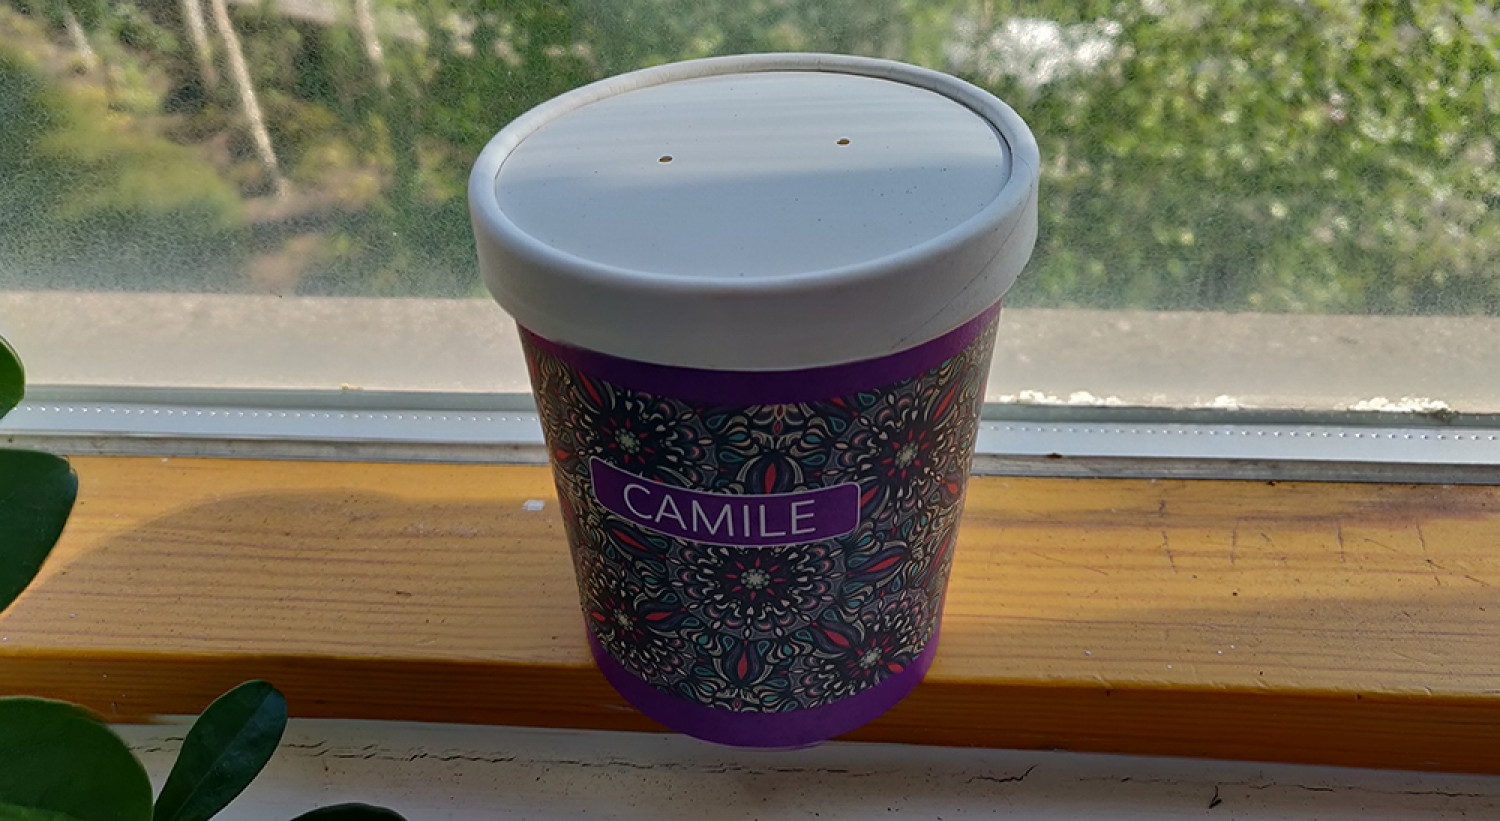
Starter Pot with Drainage Holes. When you dump out the soil to moisten it, poke a few holes in the bottom of your cup with a pen.
Compostable Lid
High Quality Compost
Some sort of big container/bowl for wettening the soil
Sunny Window, Balcony or Garden
A gentle method for light watering (spritzer is best)
Stage One: From Seed to Germination
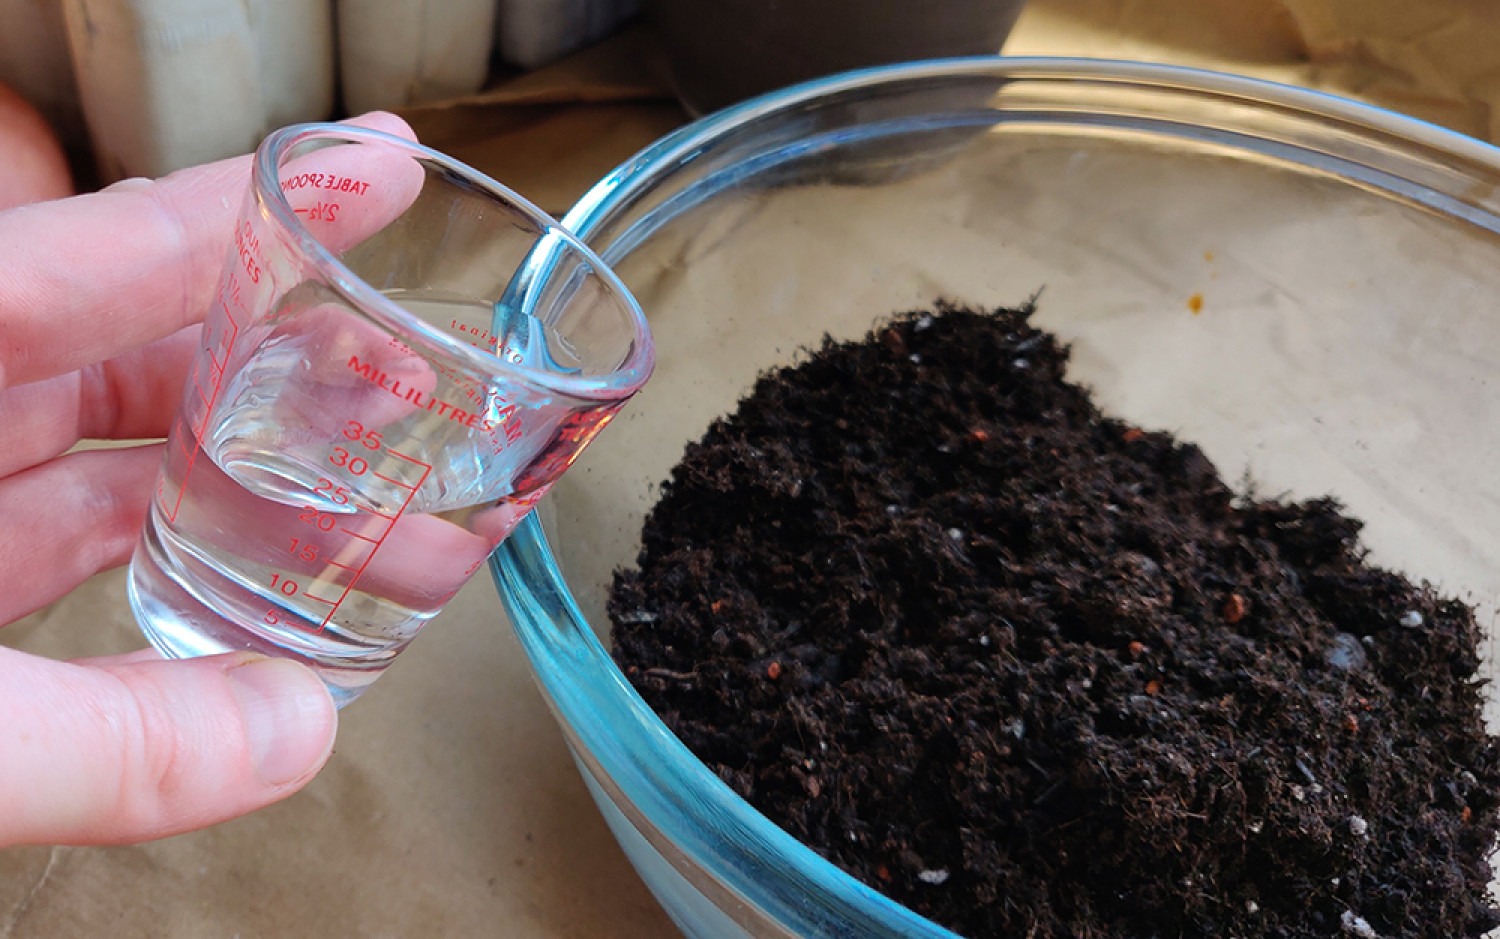
Gather all your materials to a working area. Empty 90% of your dirt into a large bowl, keeping the remaining 10% separate (and dry, in the next step.)
Create drainage holes for your seedling pot by poking holes in the bottom of your Camile cup with a pen.
You don’t need to do anything special to prepare basil seeds for planting. But soaking them in warm water overnight will give them a good head start, and help to speed up germination.
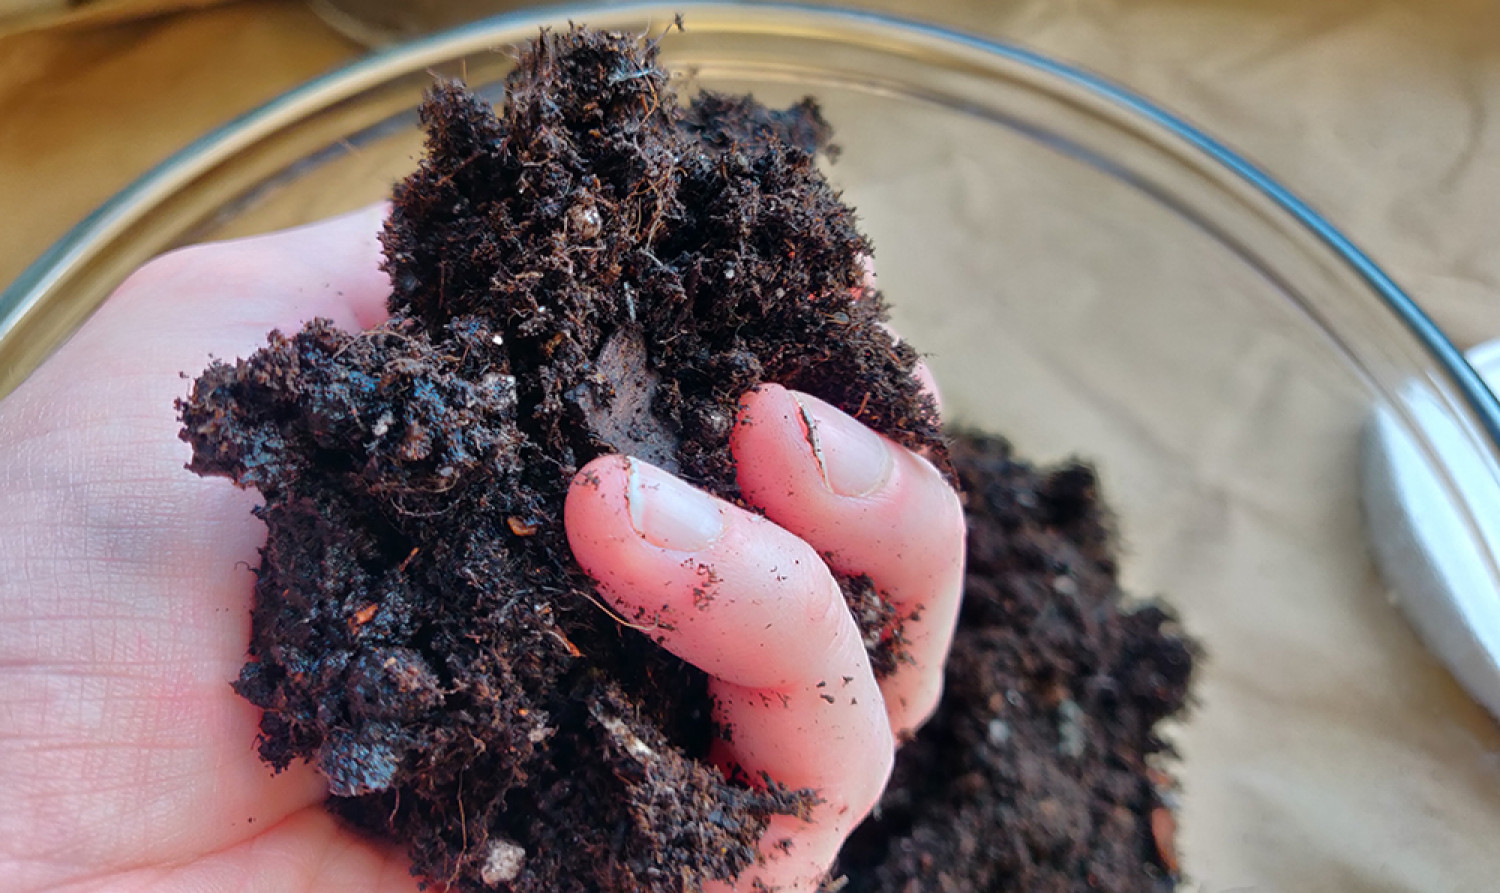
Prepare the soil. Fill the tub with the dry soil provided, add water & mix until your soil is just moist enough to hold together in your hand. It’s best to use your hands to test the consistency of the mixture when you are just starting out. Go slow with the water, especially if the only soil you have on hand is from our Seed Project kit.
Fill your pot to about 1 inch below the top with the moistened soil. Plant a few seeds spread evenly around the pot (we'd say about 6). Tip: always plant extra seeds in case a few don’t sprout. Cover the seeds with a sprinkling of soil. Basil seeds are tiny, and should only be planted 1/4″ deep.
Mist your seeds with water, lightly spray them, or use your fingers to add a few droplets. We want to ensure the seed has good contact with the soil, so it knows it is time to grow. If you expose any seeds when doing this just gently push them back in.
For seed starting, the soil needs to be damp to the touch. You should be able to see a small pad of moisture on your fingertip after you lightly touch the soil.
In the right conditions, basil seeds germinate pretty quickly. On average, germination takes about 5-10 days. But sometimes they can be faster.
Once you see sprouts, remove the lid immediately even if just 1 seed has germinated.
Step Two: From Germination to Plant
It’s always exciting to see the little seeds break the soil. Now you need to take care of them. Use the following guidelines & you should do just fine.
At this point, you can either transfer the germinated seedlings to a longer-term pot (better for watering) or continue to grow them in the Camile cup. It’s always better to give them more space to grow, but if you only want a small window plant, you can keep using our cup without much fuss.
Water your seedlings about twice a week. This may fluctuate depending on the humidity. When the top of the soil looks dry, it is time to water.
Basil loves warm sun. Make sure your plant gets at least 6 hours of sunlight. In the early growing phases, you need to provide as much light as possible to create a healthy well-branched plant. 12-16 hours of light is recommended for young seedlings. You can even place a regular lamp placed close to the seedling in a pinch. Position your plant about 2-3 inches below your lights.
Plants need good air circulation & movement to remain healthy. Think about how they grow outside with the wind blowing. This does two things - the wind keeps the air moving providing a constant supply of fresh air & good circulation. Stagnant air can lead to the seedlings staying too wet & growing mold.
Give them space. Make sure the seedlings have enough space. Gently run your hand over the tops of the seedlings each day. This will simulate movement caused by the wind blowing helping your seedlings to stay strong.
Step Three: How to Get the Most Beautiful Basil
The basil you see in the supermarket is bushy & beautiful, but basil will not grow this way on its own. If you don’t prune your basil plant, it will grow straight up & not produce enough for all the great Thai recipes you will want to make!
The key to getting a nicely branched, bushy plant with lots of leaves for picking is to prune it early & often. You should do this every few weeks to make the most from your basil plant. The first time to do this is when the plants get to be about 6 inches high, when it has between 3 & 5 sets of leaves.
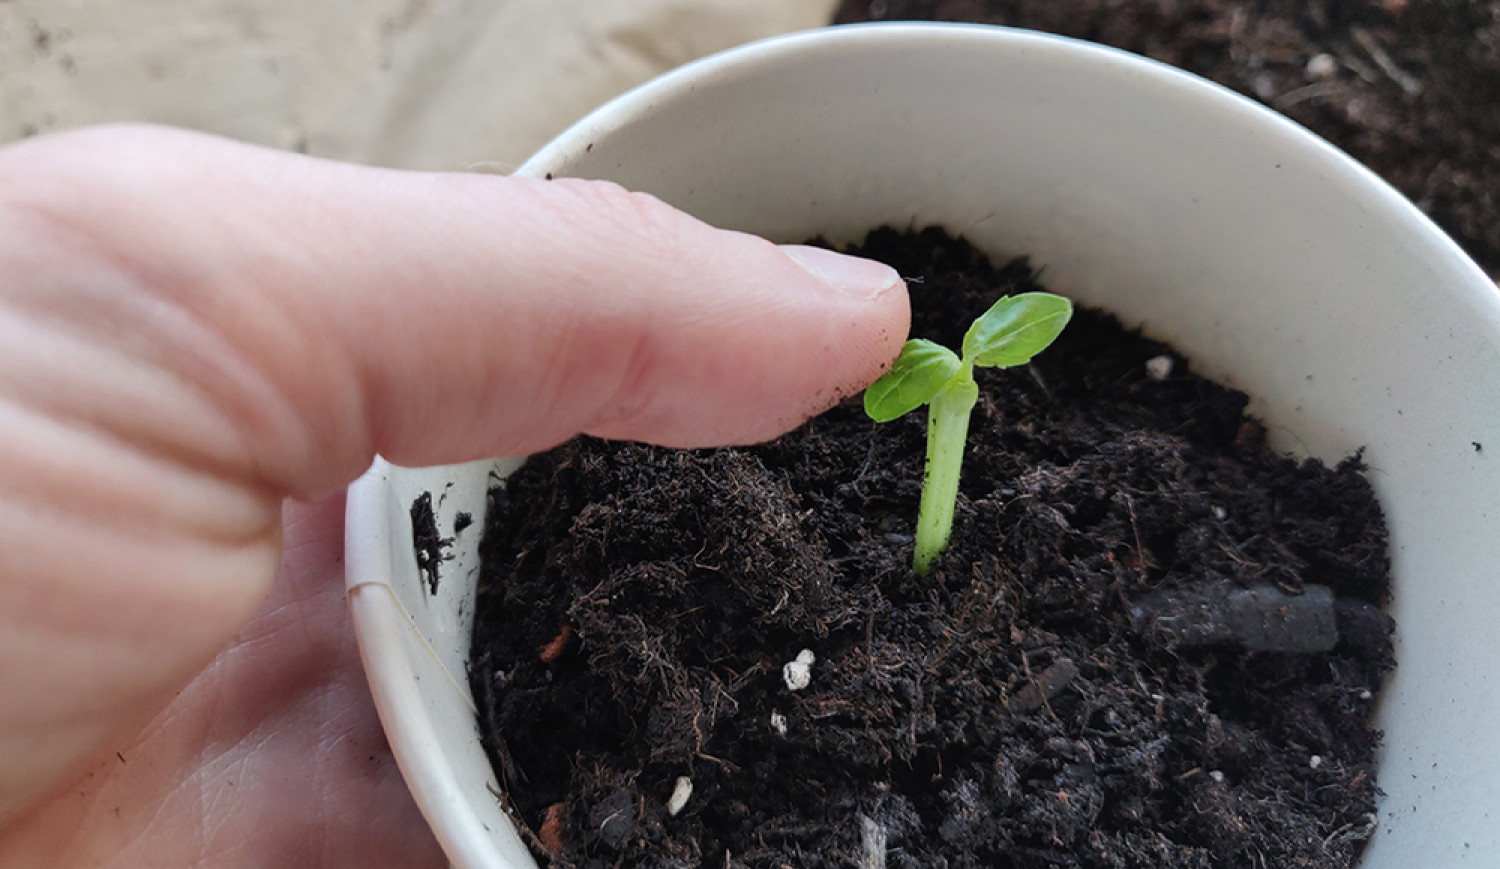
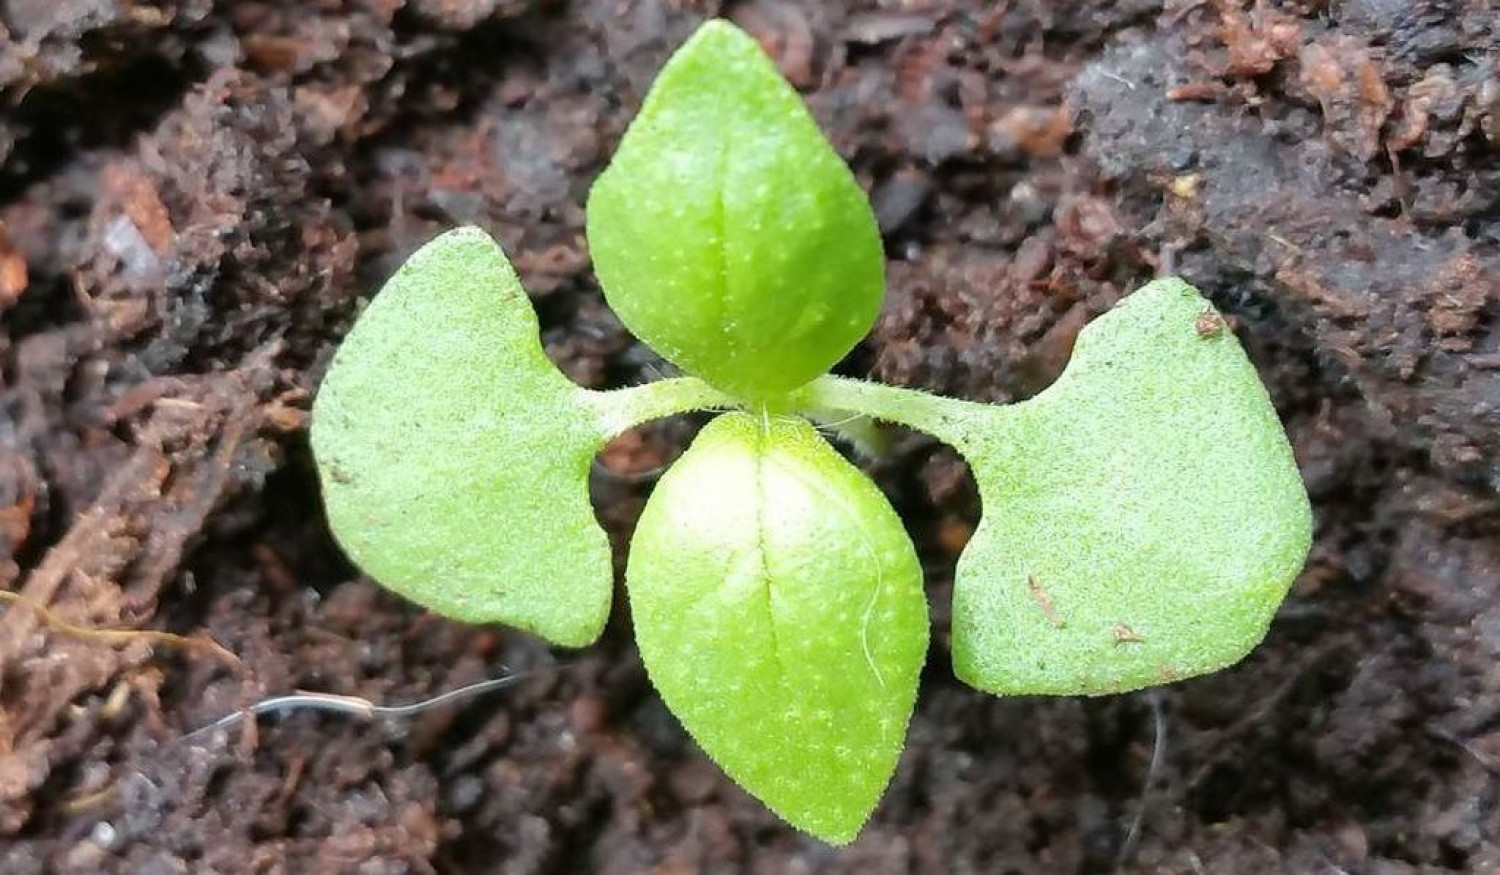
The first set of leaves you see will be the seed leaves – those don’t count & will eventually fall off as your plant grows. The next set of leaves to grow are called the “true leaves.” The seed leaves are pictured on the right and left of the photo below.
You can start pruning your basil plants as soon as they have three sets of true leaves. There will be one on top & two sets on either side of the main stem. Once the two smaller sets start growing, you can cut off the main stem just after the set of leaves. Your plant should put out two more stems about where the leaves are.
Place the cut mark just after a set of leaves. After these new shoots are about 4 inches long, repeat this process on the new stems. You can use the cuttings for your next Thai dish!
You can start harvesting your basil as soon as it has 6 or more leaves.
When you are ready to harvest your basil, you want to cut off full stems similar to the way we pruned it. This will promote a nice bushy plant & it will continue to grow & produce ever more leaves & branches. Select a tall section & look down on the branch to where you see 2 leaves. This is a good spot to cut, just after the 2 leaves. Depending how much basil you need for your recipes, continue this process around the plant.
We hope you enjoy this little project and it gets you started on a culinary and gardening journey. Be sure to show us your seedling’s project on our Instagram, @camilethaiirl, and use the hashtag #camileseedproject!